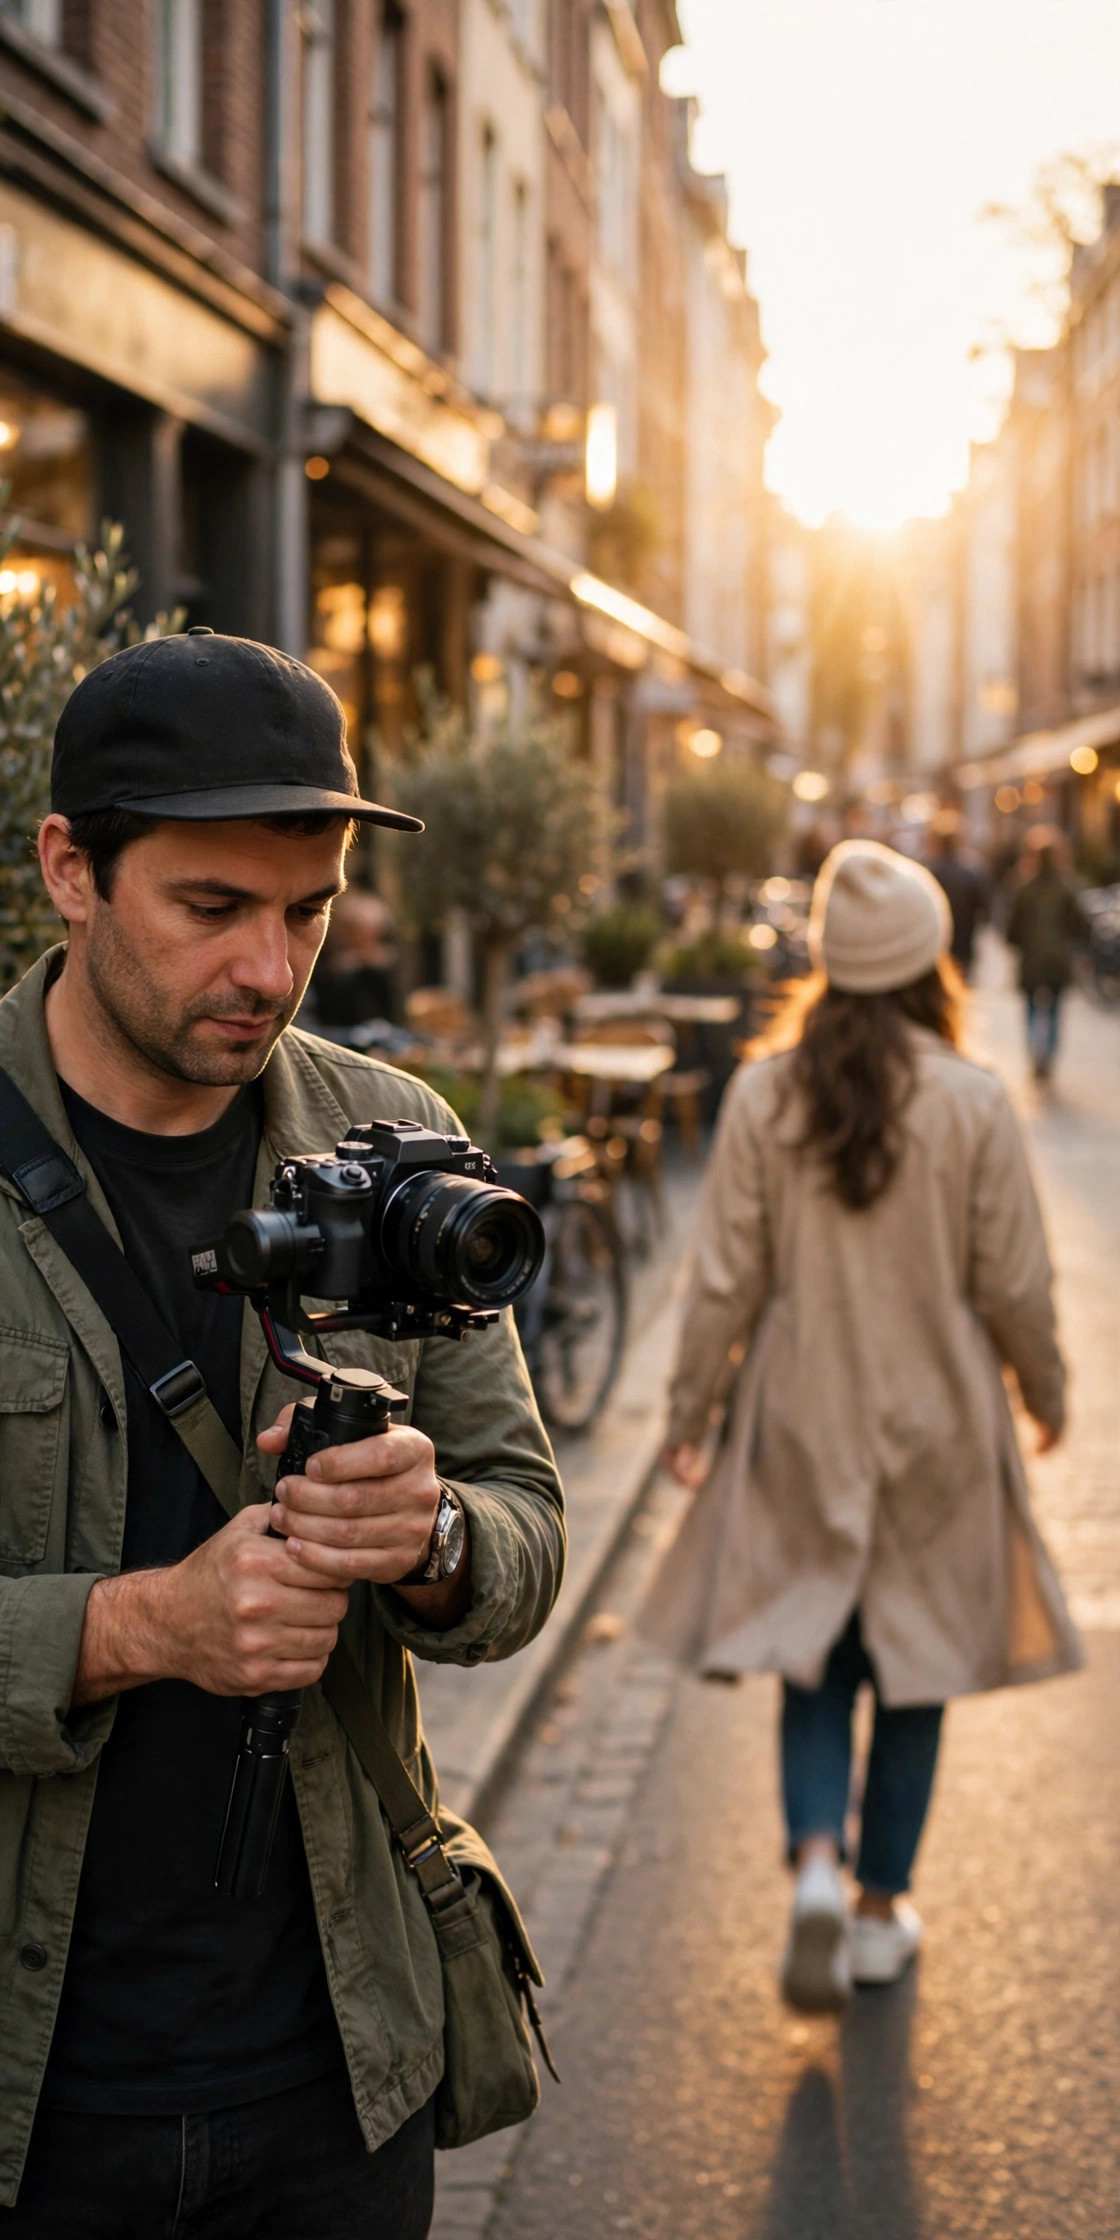
I first noticed the CapCut cinematic template on a boring Tuesday night, scrolling in bed when I should have been asleep. It was a 12-second clip of someone just walking through a market. Nothing special was happening. No dance, no joke, no big reveal. But it looked like a film trailer. Dark edges at the top and bottom, warm golden light, a slow zoom, and a sound that made my thumb stop.
I watched it three times. Then I saved it, which is the part creators actually care about. Saves are quiet, but they tell Instagram this is worth showing to more people.
The next morning I tried to copy it. My first attempt looked nothing like the original. The colours were too bright, the black bars were the wrong size, and the clip felt rushed instead of calm. That is normal. The cinematic look is not one filter. It is a handful of small choices stacked together, and once you know them, you can repeat the look in about ten minutes.
This guide walks through the whole thing in plain language: what the CapCut cinematic template actually is, how to use a ready-made template, how to build the look yourself if the template does not fit your clip, and the mistakes that ruin the movie feel.
What Is a CapCut Cinematic Template?
A CapCut cinematic template is a ready-made editing project inside CapCut that turns an ordinary phone clip into something that looks shot for a film. When you open it and add your own video, CapCut applies a set of effects for you: black bars at the top and bottom, a warmer or moodier colour grade, a slow zoom or gentle camera movement, smooth transitions, and sometimes a soft blur or light leak.
The point is not to make your video complicated. It is to make it feel intentional. A normal clip says, “I filmed this.” A cinematic clip says, “I meant this to look like this.”
Most cinematic templates are short, usually between 8 and 20 seconds, and they work best with one strong clip rather than ten quick cuts. Travel walks, outfit reveals, city lights at night, a coffee being poured, a friend laughing — these all work because the movement is already in the footage. The template just frames it better.
One honest note: a template will not fix a shaky, dark, or blurry clip. It will make a decent clip look better. If your original footage is unusable, no template will save it. Start with the best clip you have, not the first clip in your gallery.
Why Cinematic Reels Are Getting Saved Right Now
Short video feeds are full of fast cuts and loud edits. Everything shouts. Cinematic Reels do the opposite. They slow down, and that contrast is exactly why people stop.
When a viewer is scrolling fast and suddenly sees a calm, warm, film-like clip, their brain registers it as different. They watch a second longer. They might save it to try later, or send it to a friend who edits videos. That extra second matters more than most people think.
There is another reason these templates spread so well. They are easy to copy but hard to get exactly right, so people keep watching tutorials. One creator posts a cinematic walk. Ten people ask how it was made. Those ten post their own versions. The format keeps travelling because the barrier to trying it is low — you just need CapCut and one decent clip.
I am not promising this format will go viral for you. No template can promise that. What I can say is that it is a format people are actively saving and remaking in November 2026, and it is a good skill to learn even if one particular Reel does not take off, because the same colour, framing, and pacing choices work in almost any niche.
How to Use a CapCut Cinematic Template Step by Step
You need the CapCut app, a phone with some free storage, and one video clip shot in vertical 9:16. Film in the highest quality your phone allows, ideally 1080p or 4K at 30 frames per second. If you filmed at a lower quality, the cinematic grade will show the grain more, not less.
Step 1: Find the right template
Open CapCut and tap Templates at the bottom. In the search bar, type “cinematic” and scroll slowly. Do not just pick the first result with the most uses. Watch three or four previews all the way through and ask yourself one question: does this template fit my clip?
A template built for a fast car montage will look strange on a slow coffee clip. A template built for a moody night walk will look strange on bright beach footage. Match the mood first, and the number of uses second.
Tap the template you like, then tap Use template. CapCut will ask you to select your clip or clips. Most cinematic templates ask for one to three clips. Pick your strongest clip first. If the template asks for more than one, pick clips with similar light — all daylight, or all evening — so the colour grade looks consistent.
Step 2: Trim before you add effects
This is the step most people skip, and it is the step that changes everything. Before you preview the final result, trim your clip to the best moment.
A cinematic Reel does not need your whole 40-second walk. It needs the best 10 seconds: the moment you step into the light, turn the corner, or look back at the camera. Cut the shaky start where you pressed record, and cut the awkward ending where you stopped walking.
In CapCut, drag the ends of your clip until only the good part remains. Play it back without sound. If it feels boring with no music, it will probably feel boring with music too. Pick a better moment.
Step 3: Let the template do its work, then adjust
Once your clips are in, CapCut applies the template’s effects automatically. Watch the full preview twice. The first time, just enjoy it. The second time, look for problems: is your face cut off by the black bars? Is the zoom too fast? Is the colour too orange?
If your subject is too close to the edge, tap the clip and adjust its position slightly. If the template added text, and you do not like the font or wording, tap the text layer and change it or delete it. Templates are starting points, not finished videos. The creators who get the most saves are usually the ones who tweak a template instead of posting it exactly as it came.
Step 4: Fix the colour if it looks wrong
Cinematic does not mean orange. It means controlled. If your clip suddenly looks like a sunset even though you filmed at noon, the template’s filter is too strong.
Tap Adjust on your clip and pull the filter intensity down to around 60 or 70 percent. Then check two things: warmth and saturation. Warmth a little up gives skin a healthy glow. Saturation a little down stops colours from looking cartoonish. Small moves are better than big ones. If you can tell a filter is on, it is probably too strong.
My first cinematic attempt failed here. I left the filter at full strength, and my friend’s skin looked orange in daylight. Dropping the intensity and cooling the warmth slightly made the same clip look expensive instead of edited.
Step 5: Add sound that fits the mood
Sound is half the cinematic feeling. A fast, punchy song fights the slow visuals. A soft instrumental, a low ambient track, or a well-known cinematic sound lets the visuals breathe.
In CapCut, tap Audio and browse the sounds, or add a trending sound from Instagram later if you prefer. Keep the volume balanced: loud enough to feel, not so loud that it distracts from the visuals. If you are using a voiceover or a real sound from your clip, like footsteps or rain, keep a little of that natural sound in. It makes the video feel real instead of staged.
Before exporting, watch the video once with your phone’s sound on and once with it muted. It should still look good muted, but it should feel much better with sound. If it only works with sound, the visuals are not carrying their weight yet.
Step 6: Export in the right settings
Tap Export, choose 1080p, and keep the frame rate at 30 frames per second unless your original clip was shot at 60. Exporting a 30fps clip at 60fps does not make it smoother; it just makes the file bigger.
Do not add the CapCut watermark if you can avoid it. On the free version, you can usually remove the ending watermark clip by deleting it from the timeline before export. Check the end of your timeline before you export, because that black CapCut ending card ruins the cinematic illusion in the last second.
Save the exported video to your phone, then upload it to Instagram or TikTok from your gallery rather than posting directly from CapCut. That gives you a final chance to pick a good cover frame and write a caption without rushing.
How to Build the Cinematic Look Yourself in CapCut
Templates are fast, but sometimes no template fits your clip. Maybe your clip is longer, or you want a specific colour, or you just want more control. Here is the manual version, and it uses only tools already inside CapCut.
First, set your canvas to 9:16 if it is not already. Import your clip and trim it to the best 8 to 15 seconds.
Next, add the black bars. Go to Overlay, add a black rectangle at the top, and another at the bottom, or use the canvas and background options to create the letterbox effect. Keep the bars even. Uneven bars look like a mistake, not a style choice. Make sure no important detail, like eyes or text, is hidden behind them.
Then add a slow zoom. Tap your clip, choose Animation, and pick a slow combo or a gentle zoom-in. Set the duration to the full length of the clip so the movement is barely noticeable. If the zoom is obvious, it is too fast. Cinematic movement should feel like the camera is breathing, not jumping.
Now the colour. Tap Adjust and try this starting point: brightness slightly down, contrast slightly up, saturation slightly down, warmth slightly up, and highlights slightly down. Play the clip. If skin looks natural and shadows look rich without going black, you are close. If it looks muddy, pull the contrast back. If it looks washed out, pull the brightness back up a touch.
Finally, add a subtle transition only if you have more than one clip. A dissolve or a soft blur between two clips feels cinematic. A spin, a glitch, or a flash does not. Save the flashy transitions for a different kind of Reel.
This manual route takes longer the first time, maybe 20 minutes instead of five. The second time it takes ten. By the third time, you will have a personal recipe you can reuse, and that recipe is worth more than any single template because it works on your footage, in your light, with your style.
Common Mistakes That Ruin the Cinematic Feel
I have made all of these, so I list them without judgement.
The first mistake is too much slow motion. Slow motion feels cinematic in small doses. If your whole 15-second Reel is at 0.25x speed, it stops feeling like a film and starts feeling like a video buffering. Use slow motion on one moment — the turn, the step, the look back — and keep the rest at normal speed.
The second mistake is over-sharpening. CapCut has a sharpen tool, and it is tempting to push it up because the preview looks crisper. On a phone screen it looks fine. On Instagram, after compression, it looks harsh and noisy. Leave sharpening alone or keep it very low.
The third mistake is mixing moods. A warm, golden cinematic grade does not sit well with a neon, high-saturation clip in the same Reel. If you use two clips, grade them to match. The viewer should feel one mood from start to finish.
The fourth mistake is a bad cover frame. Instagram shows your cover before anyone presses play. If your cover is a blurry mid-walk frame with half a face, people scroll past. Pick a cover where your subject is clear, the light is good, and the black bars are visible. The cover is the promise; the video has to keep it.
The fifth mistake is posting a template exactly as it came, with the same text and same sound as a thousand other people, and wondering why it did not stand out. Templates are tools, not identities. Change the text, change the pacing slightly, or use a clip nobody else has. Your footage is the part that cannot be copied.
Best Clips to Try This With
If you are stuck for an idea, start with one of these. They are simple, and they suit the cinematic look naturally.
A walk toward the camera in golden hour light, filmed from a low angle, works almost every time because the light does most of the work. A city street at night, with shop lights and car headlights in the background, gives you colour and movement without any acting. A quiet everyday moment — making tea, opening a book, rain on a window — works because the calm pacing matches the calm subject. An outfit reveal, where you walk in wearing one look and the camera cuts to another, works if you keep the movement slow and the background simple.
What does not work as well? A clip where you are talking fast to the camera, a screen recording, or a clip with lots of text on screen already. The cinematic look needs space to breathe, and busy footage fights it.
CapCut Cinematic Template vs Slow Motion Template
People often confuse these two, because many cinematic templates include a slow-motion moment. They are not the same thing.
A slow motion template is mainly about speed. It stretches time so you can see a detail — a jump, a splash, a hair flip — that would pass too quickly at normal speed. A cinematic template is mainly about mood. It uses colour, framing, black bars, and gentle movement to make ordinary footage feel like a film scene, and it may or may not include slow motion at all.
If you want to learn the speed side properly, the slow motion guide on this site covers frame rates and speed ramping in detail. If you want the film look, stay here, and use slow motion only as one ingredient, not the whole recipe.
Frequently Asked Questions
Is the CapCut cinematic template free?
Most cinematic templates in CapCut are free to use, though some effects, filters, or music tracks are marked Pro. If a template asks you to pay, search for a similar free one first. The core look — black bars, warm grade, slow zoom — can be built with free tools, as shown above.
Why does my cinematic Reel look dark after uploading?
Two things usually cause this. First, the template’s filter plus Instagram’s compression can darken shadows. Export a version that is slightly brighter than you think you need. Second, check your cover frame. If the cover is dark, people assume the whole video is dark. Pick a brighter frame, even if it is not the most dramatic one.
Can I use a cinematic template for a photo slideshow?
Yes, but keep it short. Two or three photos with a slow zoom on each one feels cinematic. Ten photos with a different effect on each one feels like a slideshow from 2012. Let each photo stay on screen long enough to actually look at it.
Do I need a professional camera for this look?
No. A modern phone in good light is enough. Good light matters more than an expensive camera. Film near a window, outside in the hour before sunset, or under warm indoor lights, and your phone footage will grade much better than a professional camera’s footage shot in bad light.
Will a cinematic template work for comedy or talking Reels?
It can, but it changes the tone. A comedy clip with black bars and moody music might confuse viewers who expect a joke. If your content is mainly talking or comedy, save the cinematic look for your b-roll, travel clips, or reveal moments, and keep your talking clips clean and bright.
Final Thoughts
The first cinematic Reel I posted did not do anything special. It got a normal number of views, and I almost decided the format was overrated. Then a friend sent me a version she had made after watching mine, and hers looked better than mine, because she had slowed down and picked a better clip. That is how these formats actually spread — not through one viral post, but through people trying, tweaking, and posting again.
So try it once, properly. Pick one good clip, in good light. Use a template, but adjust it. Fix the colour until skin looks real. Choose sound that lets the video breathe. Export clean, without the watermark card at the end. Then watch it back on your phone, not just in the CapCut preview, before you post.
If it looks like a small film, you have got it. If it looks like a filter, pull something back — usually the colour or the speed — and try again. The cinematic look is a restraint exercise as much as an editing skill, and the creators who learn that restraint are the ones whose Reels keep getting saved.
Related reads
- Lion Friend CapCut Template: How to Make the One-Photo AI Hug Video Everyone Is Posting — https://viralvideo.website/lion-friend-capcut-template/
- CapCut Slow Motion Template: How to Make Smooth Slow-Mo Reels Everyone Is Saving in November 2026 — https://viralvideo.website/capcut-slow-motion-template-reel/
- AI Crying Farewell CapCut Template: How to Make the Smile-Breaks Farewell Video Everyone Is Posting in November 2026 — https://viralvideo.website/ai-crying-farewell-capcut-template/
- How to Make Beat Sync Video in CapCut — https://viralvideo.website/how-to-make-beat-sync-video-in-capcut/
- GRWM Loading Reel: How to Make the 0 to 100 Percent Format in CapCut — https://viralvideo.website/how-to-make-grwm-loading-reel-capcut/
- Zoom In Tiny Reveal Post: How to Film the Tiny-Detail Reveal Everyone Is Posting in October 2026 — https://viralvideo.website/zoom-in-tiny-reveal-post-reel/
2 thoughts on “CapCut Cinematic Template: How to Make Movie-Look Reels Everyone Is Saving in November 2026”