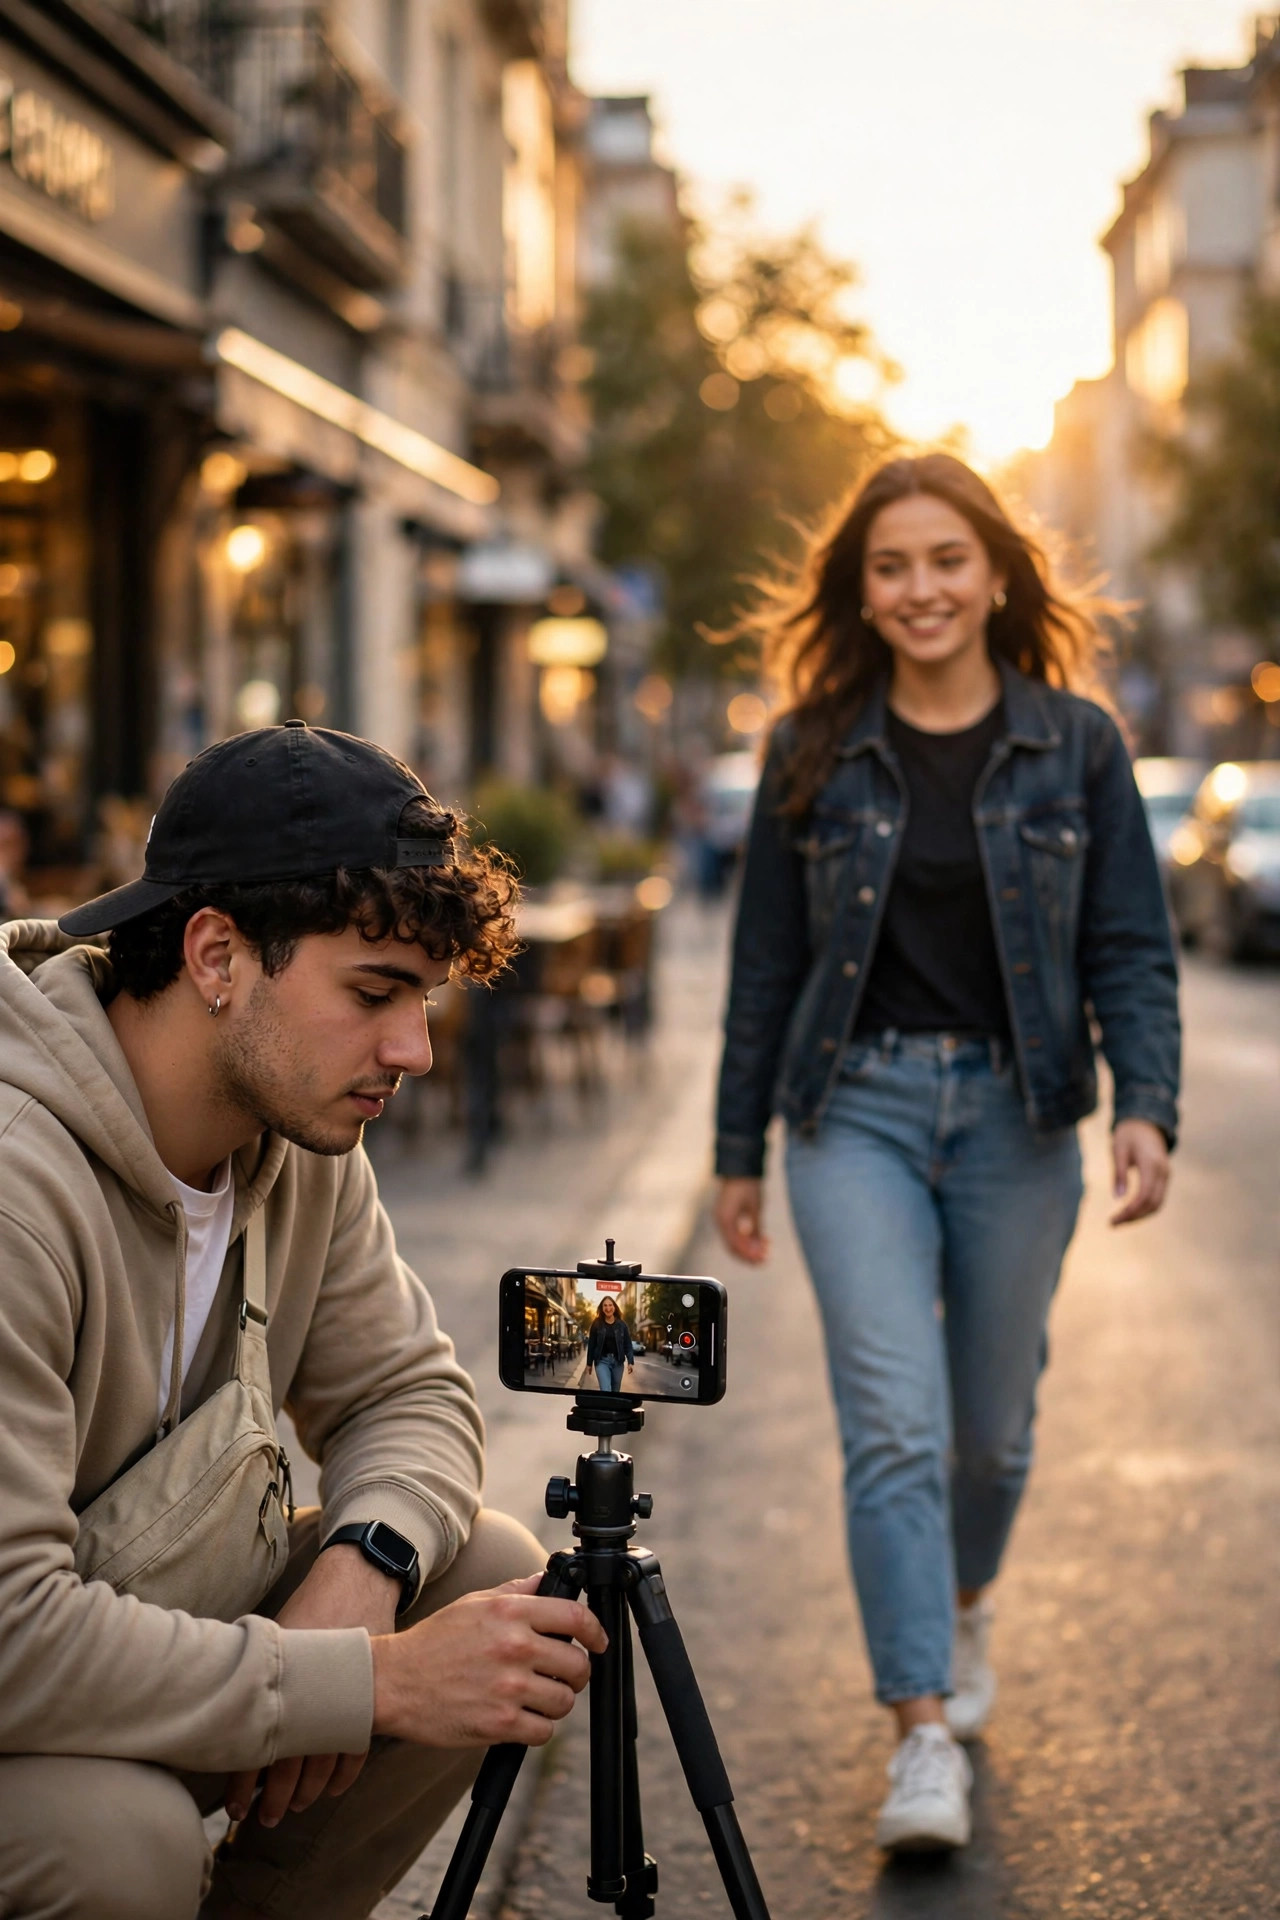
I filmed the same walk three times before I understood what was wrong with it.
It was nothing special — just me walking towards the camera on a quiet street in the evening, phone in a friend’s hand, golden light doing most of the work. On normal speed it looked fine. Flat, but fine. Then I slowed it down, and suddenly it looked like a completely different video. My steps landed heavier. The jacket moved a beat later than I expected. Even the background felt calmer, like the whole street had taken a breath.
That is the whole trick of a CapCut slow motion template. It does not add anything fancy to your footage. It just changes the timing, and timing changes how people feel about a clip. A jump looks bigger. A turn looks more deliberate. A laugh lasts long enough to actually land.
The problem is that most slow-motion edits I see look mushy instead of cinematic. The footage stutters, the face goes soft, or the whole thing drags so long that I swipe away halfway through. I have made every one of those mistakes, usually in the same week. So here is the version I wish someone had handed me first: how to use a CapCut slow motion template properly, how to build the same effect by hand when no template fits, and how to keep it smooth instead of sluggish.
What a CapCut slow motion template actually does
A template is a ready-made editing project inside CapCut. Someone has already set the cuts, the speed changes, the transitions, and often the music timing. You drop your own clips or photos into the slots, and CapCut applies that structure to your footage.
A slow-motion template specifically stretches the important moment. It might play the first second at normal speed, drop to half speed as you turn or jump, then snap back to normal speed for the ending. That change in pace is what makes it feel intentional. Constant slow motion, from start to finish, rarely works. It feels like a video buffering, not a video edited on purpose.
That is also why a template is a good starting point but a bad finishing point. Use it for the structure, then adjust the clips, the timing, and the export settings so the result looks like yours, not like ten thousand identical copies.
Before you start: shoot for slow motion, not just in slow motion
Slow motion punishes bad footage more than normal speed does. A small shake that you barely notice at full speed becomes a wobble that lasts twice as long when slowed down. Dark footage turns grainy faster. A clip shot at a low frame rate will stutter because there simply are not enough frames to stretch.
Here is what actually helped me:
- Shoot at 60fps when you can. Open your phone camera, check the video settings, and switch to 1080p at 60fps before you film anything you plan to slow down. Slowing 60fps footage to half speed still gives you 30 smooth frames per second. Slowing 30fps footage to half speed gives you 15, and that is where the judder starts.
- Keep the camera as steady as you can. You do not need a gimbal. Rest your elbows, walk slowly, or lean the phone against something solid. My best slow-mo walking clip was filmed with the phone propped on a wall, not held in a hand.
- Film movement, not stillness. Slow motion needs something to stretch: a step, a turn, a hair flip, a splash, a jacket catching the wind. A person standing still in slow motion is just a person standing still, for longer.
- Get more light than you think you need. Bright daylight or a well-lit room keeps the footage clean. Evening light looks beautiful, but if the clip is already dark, slowing it down will only show the noise more clearly.
I learned the frame-rate lesson the hard way. My first slow-mo attempt was shot at 30fps, slowed to 0.25x, and looked like a slideshow. I blamed CapCut for a week before realising the footage never had enough frames to begin with.
How to use a CapCut slow motion template, step by step
This is the fastest route, and it works well when you want a polished result in a few minutes.
Step 1: Update CapCut and find a template
Open CapCut and make sure it is updated. Templates change often, and an outdated app sometimes refuses to open a newer template at all. Tap the Templates tab at the bottom, then search for “slow motion” or “smooth slow mo”. Preview a few before you commit. Watch the whole preview, not just the first two seconds — some templates slow down the wrong moment, and you will only notice at the end.
Availability varies by region and app version, so if a particular template will not open, search for the same style under a different name instead of fighting with one link.
Step 2: Drop in your own clips
Tap “Use template”. You will see empty slots, each one labelled with how long it should be. This is the part most people rush, and it shows. Pick clips where the subject is centred and the movement is clear. A walking clip works better than a clip where you wander in and out of frame. If a slot wants a photo, use a sharp one — a blurry photo slowed down just stays blurry, only bigger in your mind.
Order matters too. Put your strongest moment in the slot the template slows down the most. That is usually the middle or the end, not the opening.
Step 3: Adjust the timing before you export
This is the step that separates a template copy from an actual edit. Preview the result and watch for three things:
- Does the slow part start exactly when the movement starts? If the slowdown kicks in half a second early, the whole thing feels off. Nudge the clip so the action lines up with the speed change.
- Is any clip too long? Cut dead air at the start and end of each slot. Slow motion already stretches time; you do not need extra seconds of nothing on top of it.
- Does the music still fit? Some templates lock the audio in place. If the track feels wrong for your clip, swap it for something from CapCut’s library or Instagram’s audio browser after export, keeping in mind that licensed music rules differ by platform.
Step 4: Export in high quality
Export at 1080p. If your phone and the template support it, 60fps keeps the slow sections looking fluid. Avoid exporting at a lower resolution to save space — slow motion makes compression artefacts more visible, and a soft export undoes all the work you just did.
That is it for the template route. Ten minutes, start to finish, once you know which clips to use.
The manual method: speed ramps in CapCut
Templates are great until you find a clip that does not fit any of them. That happened to me with a short clip of a friend spinning around in a park. Every template I tried slowed the wrong half second. So I built the effect by hand, and honestly, it is not much harder.
- Open CapCut, start a new project, and import your clip.
- Tap the clip on the timeline, then tap Speed.
- Choose Curve instead of Normal. Curve lets you change speed at different points in the same clip, which is exactly what a slow-mo moment needs.
- Pick a preset like “Hero moment” or build your own: normal speed at the start, a dip down to around 0.3x or 0.5x for the key movement, then back up to normal speed for the ending.
- Drag the curve points so the slowest section lines up with the actual movement — the turn, the jump, the step.
- Preview it three times. Once at full screen, once with the sound on, once imagining you have never seen the clip before. If any section drags, shorten it.
The curve method takes a little longer, but it gives you control a template never will. It is also the skill that transfers everywhere: once you can shape a speed curve, you can fix almost any template that feels slightly off.
One warning from experience: do not stack slow motion on top of slow motion. If the clip was already shot in your phone’s slow-mo mode and you slow it again in CapCut, you will end up with something that crawls. Use one method, not both.
Beat sync and slow motion: how they fit together
Slow motion and beat sync are often talked about as separate tricks, but in practice they work best together. The beat tells the viewer when something is about to happen; the slowdown makes that moment last.
If your clip has music, try lining the slowest point up with a beat drop or a change in the track. If you are using a template, this is usually done for you. If you are editing by hand, tap along to the music, note where the energy shifts, and place your speed dip there. You do not need perfect precision — close enough that the movement and the music feel connected is plenty.
I previously wrote a full guide to building beat-synced edits from scratch, and the timing ideas there still apply here. The difference is emphasis: a beat-sync edit is about cuts landing on the rhythm, while a slow-motion edit is about one moment stretching across it. When you combine them, keep the rest of the edit tight. A long slow section surrounded by quick cuts feels deliberate. A long slow section surrounded by more slow sections feels like the video forgot to end.
Mistakes that ruin slow-motion Reels
Most of these I have done myself, so consider this a confession list as much as advice.
- Slowing everything down. If the whole Reel is slow, nothing stands out. Slow one moment, keep the rest at normal speed.
- Using shaky or dark footage. Slow motion magnifies both problems. Reshoot in better light rather than trying to rescue a bad clip with filters.
- Letting it run too long. A slow-mo moment should last a few seconds, not the entire Reel. For a typical 15 to 30 second Reel, two to four seconds of slow motion is usually enough.
- Forgetting the hook. The first second still has to grab attention. Start with the movement already beginning, not with three seconds of walking into frame.
- Exporting at low quality. Grainy, soft slow motion looks accidental. Export at 1080p and check the result on your phone before posting, not just in the editor preview.
- Copying a template exactly. Same clips order, same music, same text — that is how a feed ends up full of identical videos. Change at least the footage, the timing, and the caption so the edit is actually yours.
Which clips work best with a slow-motion template
Not every idea suits slow motion. The ones that consistently work for me:
- Walking towards the camera, especially outfit reveals and entrance clips
- Hair flips, spins, and turns where the movement itself is the point
- Jumping, splashing, or anything with a clear peak moment
- Travel b-roll: waves, traffic, city lights, a train pulling away
- Sports and dance clips where one move deserves a second look
What does not work as well: talking-head clips, screen recordings, and anything where the information matters more than the movement. Slowing down someone explaining something just makes the explanation harder to follow.
Posting it without killing the quality
Instagram and TikTok both compress uploads, and slow motion shows compression first. A few habits help:
- Export from CapCut at the highest quality available, then upload over a stable connection rather than mobile data if you can.
- Keep the caption short and specific. Say what the moment is, not just “slow-mo vibes”. A caption that names the moment gives people a reason to watch it twice.
- Post the Reel itself rather than a screen recording of it. A screen recording adds another round of compression and usually a visible quality drop.
- Check the posted version on your phone. If the slow section stutters after upload, try re-exporting at 30fps instead of 60fps — some platforms handle one better than the other, and it varies.
None of this guarantees a video will take off. A template gives you a polished structure, good footage gives it something worth slowing down, and timing gives it feeling. The rest is down to the idea itself and whether people connect with it. But when those three things line up, the difference is obvious — the same ordinary walk, suddenly worth watching twice.
Frequently asked questions
What is the best CapCut slow motion template setting for Reels?
There is no single best template, because the right one depends on your clip. Look for a template whose slow section matches the length of your key movement, preview it fully, and adjust the clip timing after applying it. A template that slows the wrong moment will hurt the edit more than no template at all.
Do I need 60fps footage for a CapCut slow motion template?
It helps a lot, but it is not an absolute rule. Footage shot at 60fps slows down much more smoothly. Footage at 30fps can still work for a gentle slowdown to around 0.5x, but pushing it to 0.25x usually introduces stutter. If your phone supports it, shoot new clips at 60fps for anything you plan to slow down.
Why does my slow-motion video look blurry?
Usually one of three reasons: the original footage was dark or shaky, the clip was slowed too far for its frame rate, or the export quality was too low. Reshoot in brighter light, keep the slowdown gentler, and export at 1080p before blaming the app.
Can I use a CapCut slow motion template with photos?
Yes. Many templates accept photos and add a slow zoom or pan alongside the speed effect. Use sharp, well-lit photos with a clear subject, and keep the subject centred so the movement does not crop anything important out of frame.
Is a slow-motion template better than editing speed manually?
A template is faster and a good starting point. Manual speed curves give you more control and a more original result. I use templates when I want something quick and manual curves when the moment matters enough to shape by hand. Most creators end up using both, depending on the clip.
Final thoughts
My first slow-motion edits were rough. Wrong frame rate, too much slow motion, clips that dragged on long after the interesting part had passed. The fix was never a better template. It was shooting with slow motion in mind, slowing only the moment that deserved it, and checking the export on my phone before posting.
Start with a template if you want speed. Learn the curve tool when you want control. Either way, pick one moment, make it last just long enough, and let the rest of the video move at normal pace. That contrast is the whole effect — and it is the reason a simple walk towards the camera can suddenly feel like a scene.
Related reads
- Lion Friend CapCut Template: How to Make the One-Photo AI Hug Video Everyone Is Posting
- How to Make Beat Sync Video in CapCut
- CapCut Templates for Reels: 2026 Mein Kaunse Chal Rahe Hain
- Zoom In Tiny Reveal Post: How to Film the Tiny-Detail Reveal Everyone Is Posting
- Once a Day, Once a Week, Once a Month Reel: How to Make the Schedule Reel Everyone Is Saving
- Some People Call Me Reel: How to Make the Nickname-to-Pitch Reel Everyone Is Posting