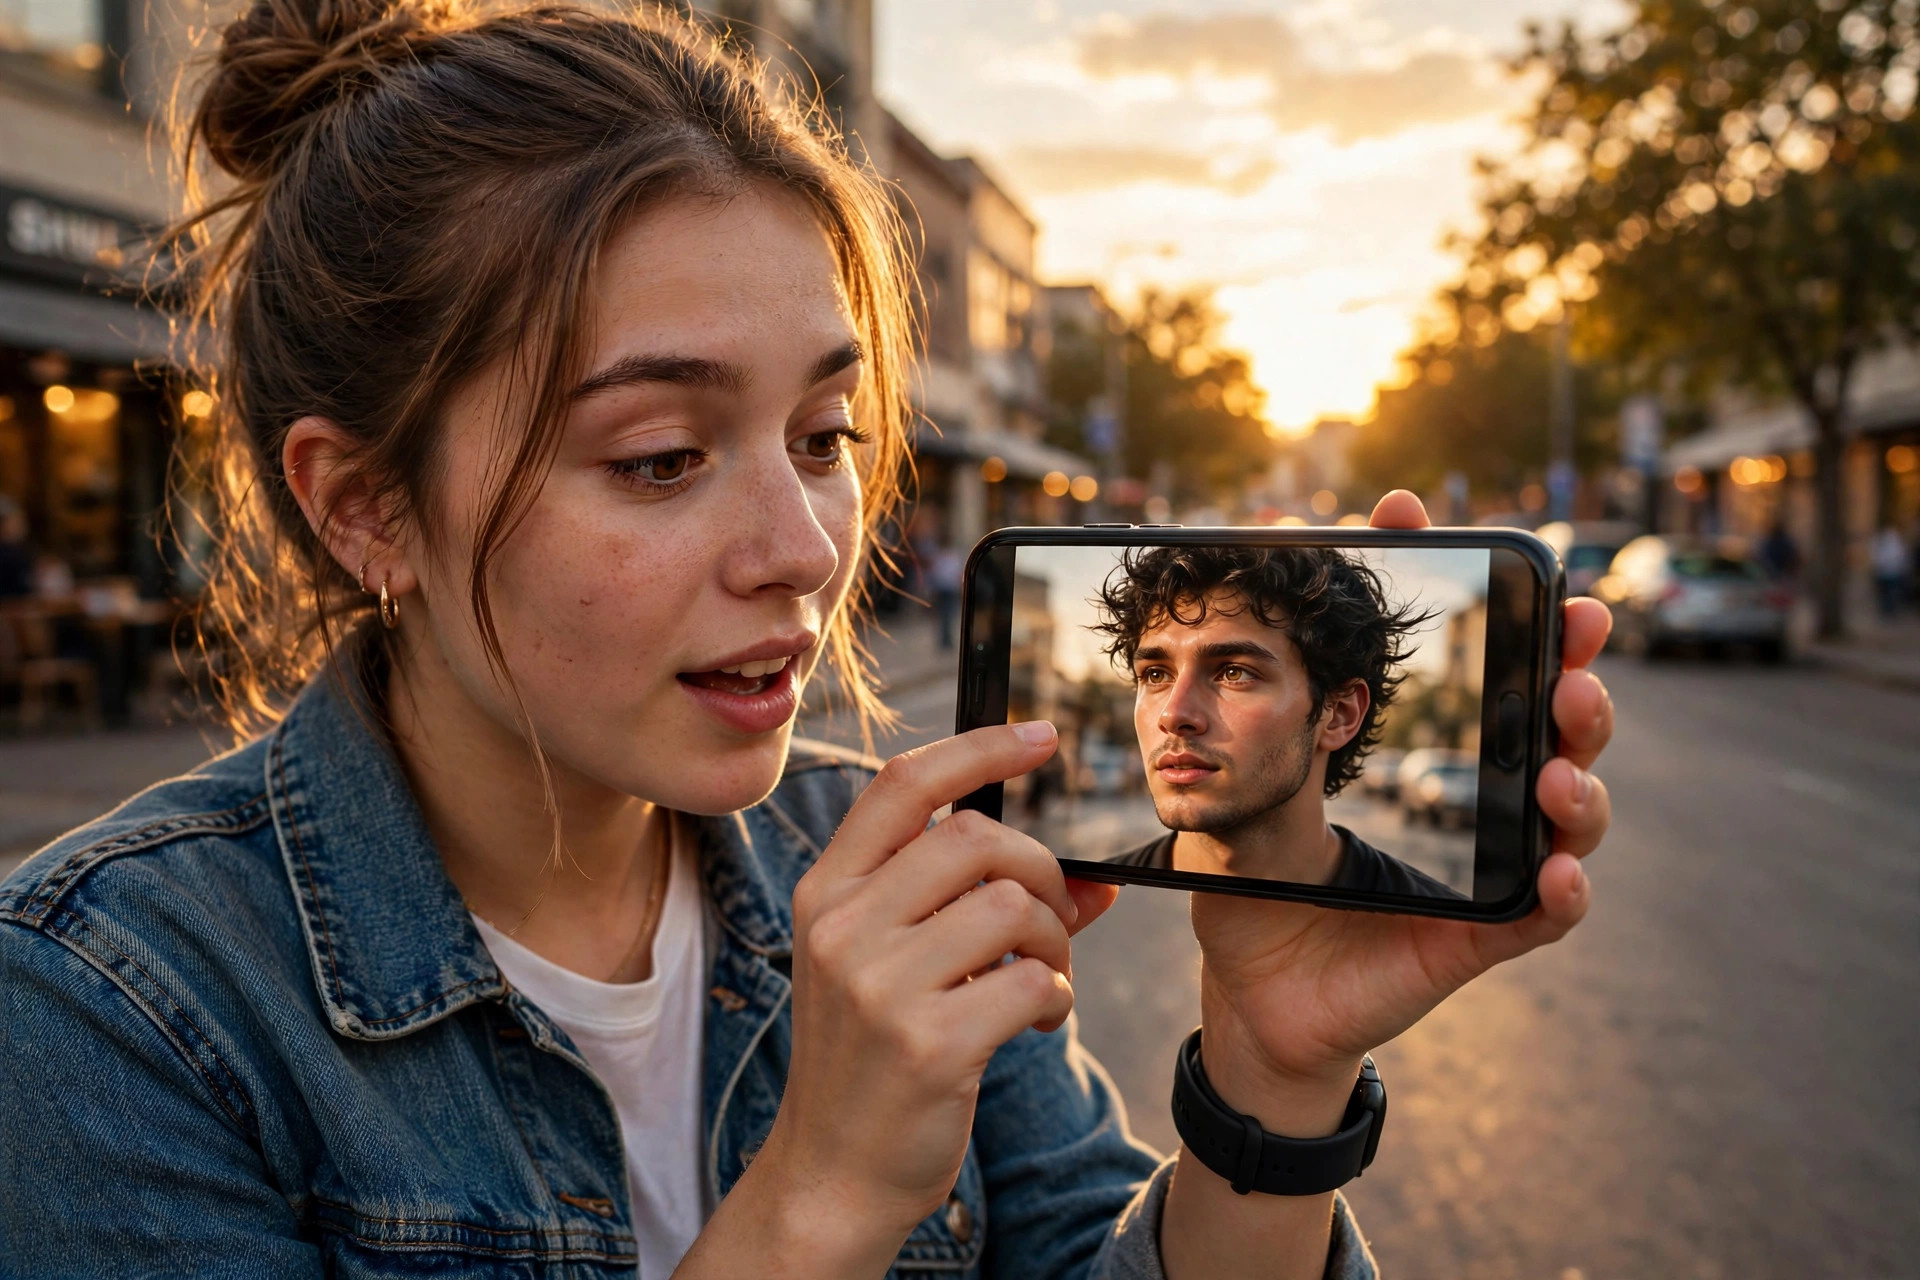
I had one photo I really liked, and no video to go with it. It was a portrait a friend took of me on a rooftop at golden hour, the light doing all the work, my expression actually relaxed for once. I wanted to post it, but a plain photo felt flat next to everything else on my feed. Every Reel around it was moving. Mine just sat there.
That is how I ended up down the CapCut 3D Zoom template rabbit hole. I had seen the effect a dozen times without knowing its name: a still photo that suddenly gains depth, the person pushing gently toward you while the background drifts back, like the camera is gliding through the scene. It looks expensive. It takes about a minute once you know where the button is. And it works best on exactly the kind of photo I already had — one strong still, no video clip required.
This guide is the version I wish I had found first. It covers the CapCut 3D Zoom template two ways: the quick template route, and the built-in Style effect inside a project. Both use the same idea, and both only work properly on photos, so I will be honest about where the effect falls apart too.
What the CapCut 3D Zoom template actually does
A normal zoom just makes the whole picture bigger. Everything scales at the same rate, and your eye notices it straight away. The CapCut 3D Zoom template works differently. CapCut guesses which parts of your photo are near and which are far — your face, a hand, a coffee cup in the foreground, then the street or sky behind — and moves those layers at different speeds. The subject grows while the background recedes. That difference in speed is what your brain reads as depth.
That is why a flat photo suddenly feels like a short camera move. Nothing in the photo was ever filmed moving. The app is faking a camera push through a depth map it builds from your image. When the photo has a clear subject and a bit of space behind them, the fake is convincing. When the photo is busy, cluttered, or already tightly cropped, the fake shows.
I learned that the hard way. My first try was a group photo at a table, five faces, plates everywhere, no clear foreground. The CapCut 3D Zoom template pushed in on the wrong person, warped a hand at the edge, and made the whole thing look seasick. My second try, the rooftop portrait with one person and open sky behind, looked like a completely different edit. Same app, same button. The photo did the heavy lifting.
Picking a photo that works with the CapCut 3D Zoom template
Before you open CapCut, look at your photo for three things.
First, one clear subject. A portrait, a pet, a product on a table, a building with a clear front — all good. A crowd scene is not. The effect needs something to push toward, and if it has to choose between five faces, it will choose badly.
Second, some background. The depth trick needs distance to play with. A subject against a plain wall will still move, but it will look more like a plain zoom. A subject with a street, a garden, a beach, or a room stretching behind them gives the background somewhere to recede into.
Third, resolution. Zooming enlarges part of the image, so start with the original file, not a screenshot of it and not a version that has already been cropped tight and recompressed three times. If your photo is already soft, the zoom will only make that softness bigger. I keep the original in my gallery and work from that, every time.
One more honest note: the effect only works on photos. If you apply it to a video clip, CapCut will either refuse or give you a strange result, because the clip already has its own movement. Keep this one for stills. That limitation is also the point — it is the tool that turns a photo-only post into something that moves.
Method 1: Use a CapCut 3D Zoom template
This is the fastest route, and the one most people mean when they search for the CapCut 3D Zoom template.
- Open CapCut and tap Templates at the bottom. If you do not see it, update the app — the template tab moves around between versions, and an old version is the most common reason people cannot find a template at all.
- Search for “3D zoom”. Watch three or four previews before you pick one. The speed and intensity vary a lot between templates: some push in slowly and gently, some lunge at the subject. Pick the one whose pace matches your photo. A calm portrait wants a slow push. A punchy product shot can take a faster one.
- Tap Use template and choose your photo. One strong image is enough for most CapCut 3D Zoom template versions. Some templates ask for two or three photos; if yours does, use shots of the same subject from different distances, not three unrelated pictures.
- Let CapCut generate the preview. Watch the focal point. The push should travel toward your subject’s face or the key object, not drift off into empty sky or a corner. If it drifts, that template is a bad match for that photo — swap the template rather than fighting it.
- Adjust anything the template lets you change. Some let you trim the length or swap the music; some do not. Do not force extra effects on top. The depth move is the whole idea, and layering a shake or a flash over it usually just makes it messy.
- Export at 1080p. The depth illusion breaks down fast at low resolution, and a blurry export undoes the one thing the effect is good at.
My first template attempt failed at step 2, in a way that is worth mentioning. I picked the first template in the search results without watching the preview properly, and it had a fast zoom plus a beat drop that did not suit a quiet portrait at all. The video felt loud and rushed. Watching previews first sounds obvious, and it is the step I skipped. Do not skip it.
Method 2: Apply 3D Zoom inside your own project
If you want more control — your own music, your own text, a longer Reel with several photos — use the built-in effect instead of a template. This is the route I use now for most posts.
- Open CapCut and tap New project.
- Select the photo or photos you want to animate and tap Add. They will land on your timeline in the order you picked them, so pick them in the order you want them to appear.
- Tap the first photo clip on the timeline so the editing tools appear at the bottom.
- Scroll the bottom toolbar and tap Style. If you cannot see Style, scroll the toolbar sideways — on smaller phones it hides off the edge, and I spent ten minutes once convinced the feature had been removed. It had not. It was just one swipe away.
- Tap 3D Zoom. CapCut will take a few seconds to process the image. Let it finish; tapping away mid-process is how you get a half-applied effect that looks fine in the preview and glitchy after export.
- Press play and watch it back. Check the edges of your subject for warping, especially around hair, hands, and glasses. A little softness at the edge is normal. A hand bending in a way hands do not bend means that photo is a bad fit — try a different photo, not a stronger effect.
- Tap the checkmark to apply it, then repeat for the next photo if you are building a sequence. For a sequence, keep the zoom direction consistent. All pushing in feels intentional. One pushing in, one pulling out, one sliding sideways feels like three different edits stitched together.
- Add your music, text, and captions after the effect is applied, not before. That way you are timing your text to the finished move, not guessing where the move will land.
The project route takes a few minutes longer than a template, but it is the one that lets you build a full Reel around the effect instead of a single clip. A three-photo sequence — wide shot, portrait, detail — each with a gentle 3D Zoom, timed to a song, is a complete Reel. You do not need anything else.
Settings that make the CapCut 3D Zoom template look good
Length matters more than people think. A single 3D Zoom clip of two to three seconds feels like a camera move. Stretch it to six or seven seconds and the same move starts to feel like a slow screensaver. If your Reel needs more time, use more photos, not a longer zoom. Two or three short pushes beat one long one.
Keep the subject away from the extreme edge of the frame. The effect enlarges the centre of the image, so anything already touching the edge gets cropped or warped first. If your subject is at the very edge, crop the photo slightly inward before you apply the effect, or pick a different shot.
Match the music to the move. A slow push wants something calm. A fast template wants something with a beat. This sounds like styling advice, but it is practical: when the zoom and the music disagree, viewers feel it even if they cannot name it, and they swipe. I test with the sound on, on my phone speaker, before I export — not just on silent preview.
Export at 1080p and 30fps for Reels and Shorts. Higher resolutions are fine if your phone handles them, but 1080p is the sweet spot where the depth still reads clearly and the file stays small enough to upload without a long wait. Check the export on your phone after it saves. Preview inside CapCut can hide a glitch that the exported file shows plainly.
Mistakes I made so you do not have to
Using a busy group photo. Covered above, still my most common mistake when I am in a hurry. One subject, clear background. Every time.
Applying the effect to an already-cropped screenshot. The zoom magnified every compression artifact. Use the original photo.
Stacking effects on top of the zoom. A shake, a flash, and a filter on top of a depth move turned a clean portrait into a fairground ride. The CapCut 3D Zoom template is already the effect. Let it do its job alone.
Forgetting to watch the full preview with sound. I exported a version once where the zoom was perfect but the music started a beat too late, so the push landed on silence. Thirty seconds of checking would have caught it.
Using the effect on every photo in a dump. Three zooms in a row is a style. Ten zooms in a row is motion sickness. Mix in one or two still photos, held for a beat, and the zooms land harder.
Ideas that actually suit the CapCut 3D Zoom template
Portraits and selfies with a bit of background behind them — the classic use, and still the best one. Travel photos where a building or a view sits behind you. Product shots: a watch, a pair of shoes, a cake, anything with a clear shape and a table or room behind it. Before-and-after posts, where the “after” photo gets the zoom and the “before” stays still — the contrast makes the reveal feel bigger. And photo dumps, where one or two key photos get the treatment and the rest stay still, so the moving ones stand out.
What does not suit it: screenshots, text-heavy images, memes with small writing (the zoom will blur the words), and photos where the subject fills the whole frame with no background at all. For those, a plain cut or a simple fade is honestly better, and saying so is not a failure of the effect — it is knowing what a tool is for.
Frequently asked questions about the CapCut 3D Zoom template
Is the CapCut 3D Zoom template free?
Most 3D Zoom templates in CapCut are free to use. A few combine the effect with Pro-only transitions, and the preview flags that before you apply it, so check the preview rather than assuming. The built-in Style effect in your own project is part of the standard editing tools.
Does the CapCut 3D Zoom template work on video clips?
No, not properly. The effect is built for still photos — it creates movement where there was none. A video clip already moves, so the depth trick adds little and can look odd. Use it on photos, and use speed or slow-motion tools for video clips instead.
Why does my 3D Zoom look warped around the edges?
Usually one of three things: a busy photo with no clear subject, a subject too close to the edge of the frame, or a low-resolution starting image. Try a cleaner photo with space around the subject, and start from the original file rather than a recompressed copy.
Can I change where the zoom pushes toward?
In most templates, no — the focal point is fixed by the template maker. In your own project, you can influence it by choosing a photo where the subject is already near the centre, and by cropping slightly before applying the effect. If a template keeps pushing toward the wrong spot, swap the template.
How long should a 3D Zoom clip be?
Two to three seconds per photo is the range that feels natural for Reels and Shorts. Longer than that and the move starts to drag. If you need a longer Reel, add more photos rather than stretching one zoom.
Final thoughts
The CapCut 3D Zoom template is not a complicated tool, and that is why it works. One good photo, one clear subject, a gentle push, and a post that was going to sit still suddenly moves. My rooftop portrait finally got posted — slow push, quiet song, nothing else on top of it — and it did better than the plain photo version would have, not because the effect is magic, but because a moving image holds a thumb for one second longer, and one second is often the whole game.
Start with your best photo, not your tenth-best. Watch the preview with sound. Export at 1080p, check the saved file, and then post it. If the first photo warps, do not force it — pick a cleaner shot and try again. The effect rewards good photos. It cannot rescue bad ones, and knowing that difference will save you more time than any setting in the app.
Related reads
- Lion Friend CapCut Template: How to Make the One-Photo AI Hug Video Everyone Is Posting — https://viralvideo.website/lion-friend-capcut-template/
- Zoom In Tiny Reveal Post: How to Film the Tiny-Detail Reveal Everyone Is Posting in October 2026 — https://viralvideo.website/zoom-in-tiny-reveal-post-reel/
- CapCut Slow Motion Template: How to Make Smooth Slow-Mo Reels Everyone Is Saving in November 2026 — https://viralvideo.website/capcut-slow-motion-template-reel/
- CapCut Cinematic Template: How to Make Movie-Look Reels Everyone Is Saving in November 2026 — https://viralvideo.website/capcut-cinematic-template-reel/
- AI Crying Farewell CapCut Template: How to Make the Smile-Breaks Farewell Video Everyone Is Posting in November 2026 — https://viralvideo.website/ai-crying-farewell-capcut-template/
- CapCut Templates for Reels: 2026 Mein Kaunse Chal Rahe Hain — https://viralvideo.website/capcut-templates-for-reels-2026/
1 thought on “CapCut 3D Zoom Template: How to Make Still Photos Move With Depth in November 2026”